

01
Blind and frame profiles
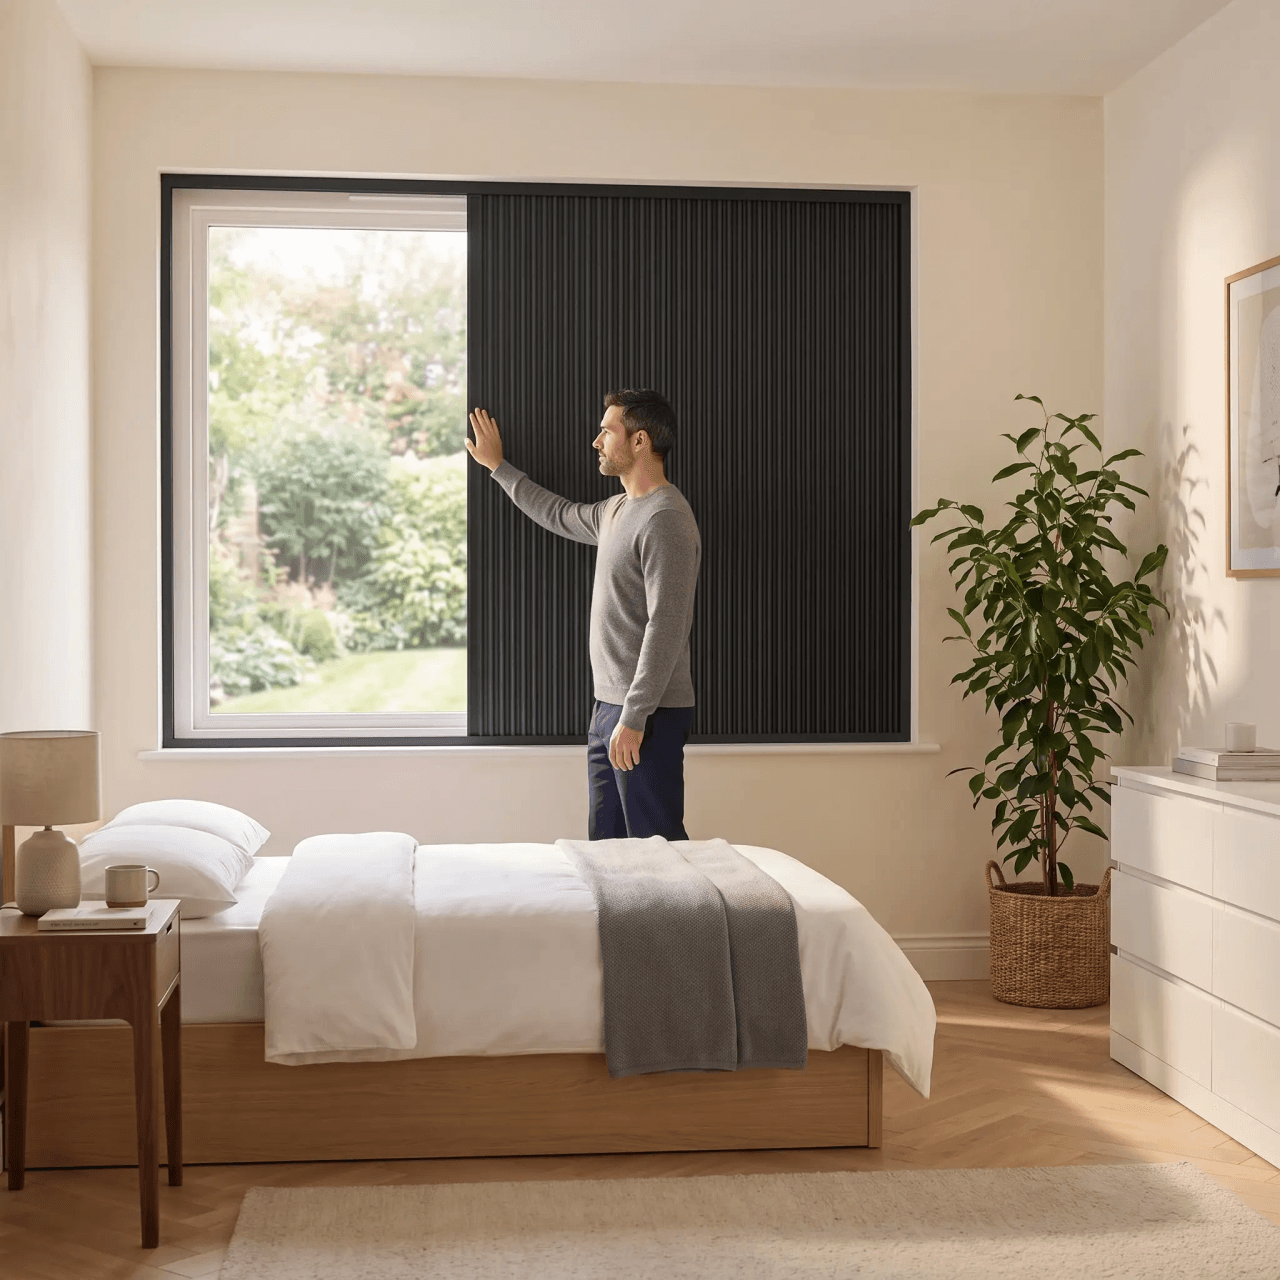
The blind cassette plus the top, bottom and side profiles made to your opening.
Installation guide
Your OneRest Blind arrives made to your measurements. Set aside a clean work area, follow the numbered parts, and work through the five stages below before testing the final fit.
Before you begin
Lay every part out before assembly. The profiles and fittings are labelled so adjoining pieces can be matched without guesswork.
01
The blind cassette plus the top, bottom and side profiles made to your opening.
02
Numbered connectors, fixing screws and caps that keep each joint square and covered.
03
A self-adhesive brush for the rear edge of the frame and its four clean corners.
04
The compressible perimeter seal and the small screwdriver required for final adjustment.
A careful start
A clean, dry recess gives the adhesive strips their best hold and makes it easier to see that the frame is sitting evenly.
Step by step
Read one stage ahead as you work. The small details at the joints and corners are what help the finished frame control edge light.
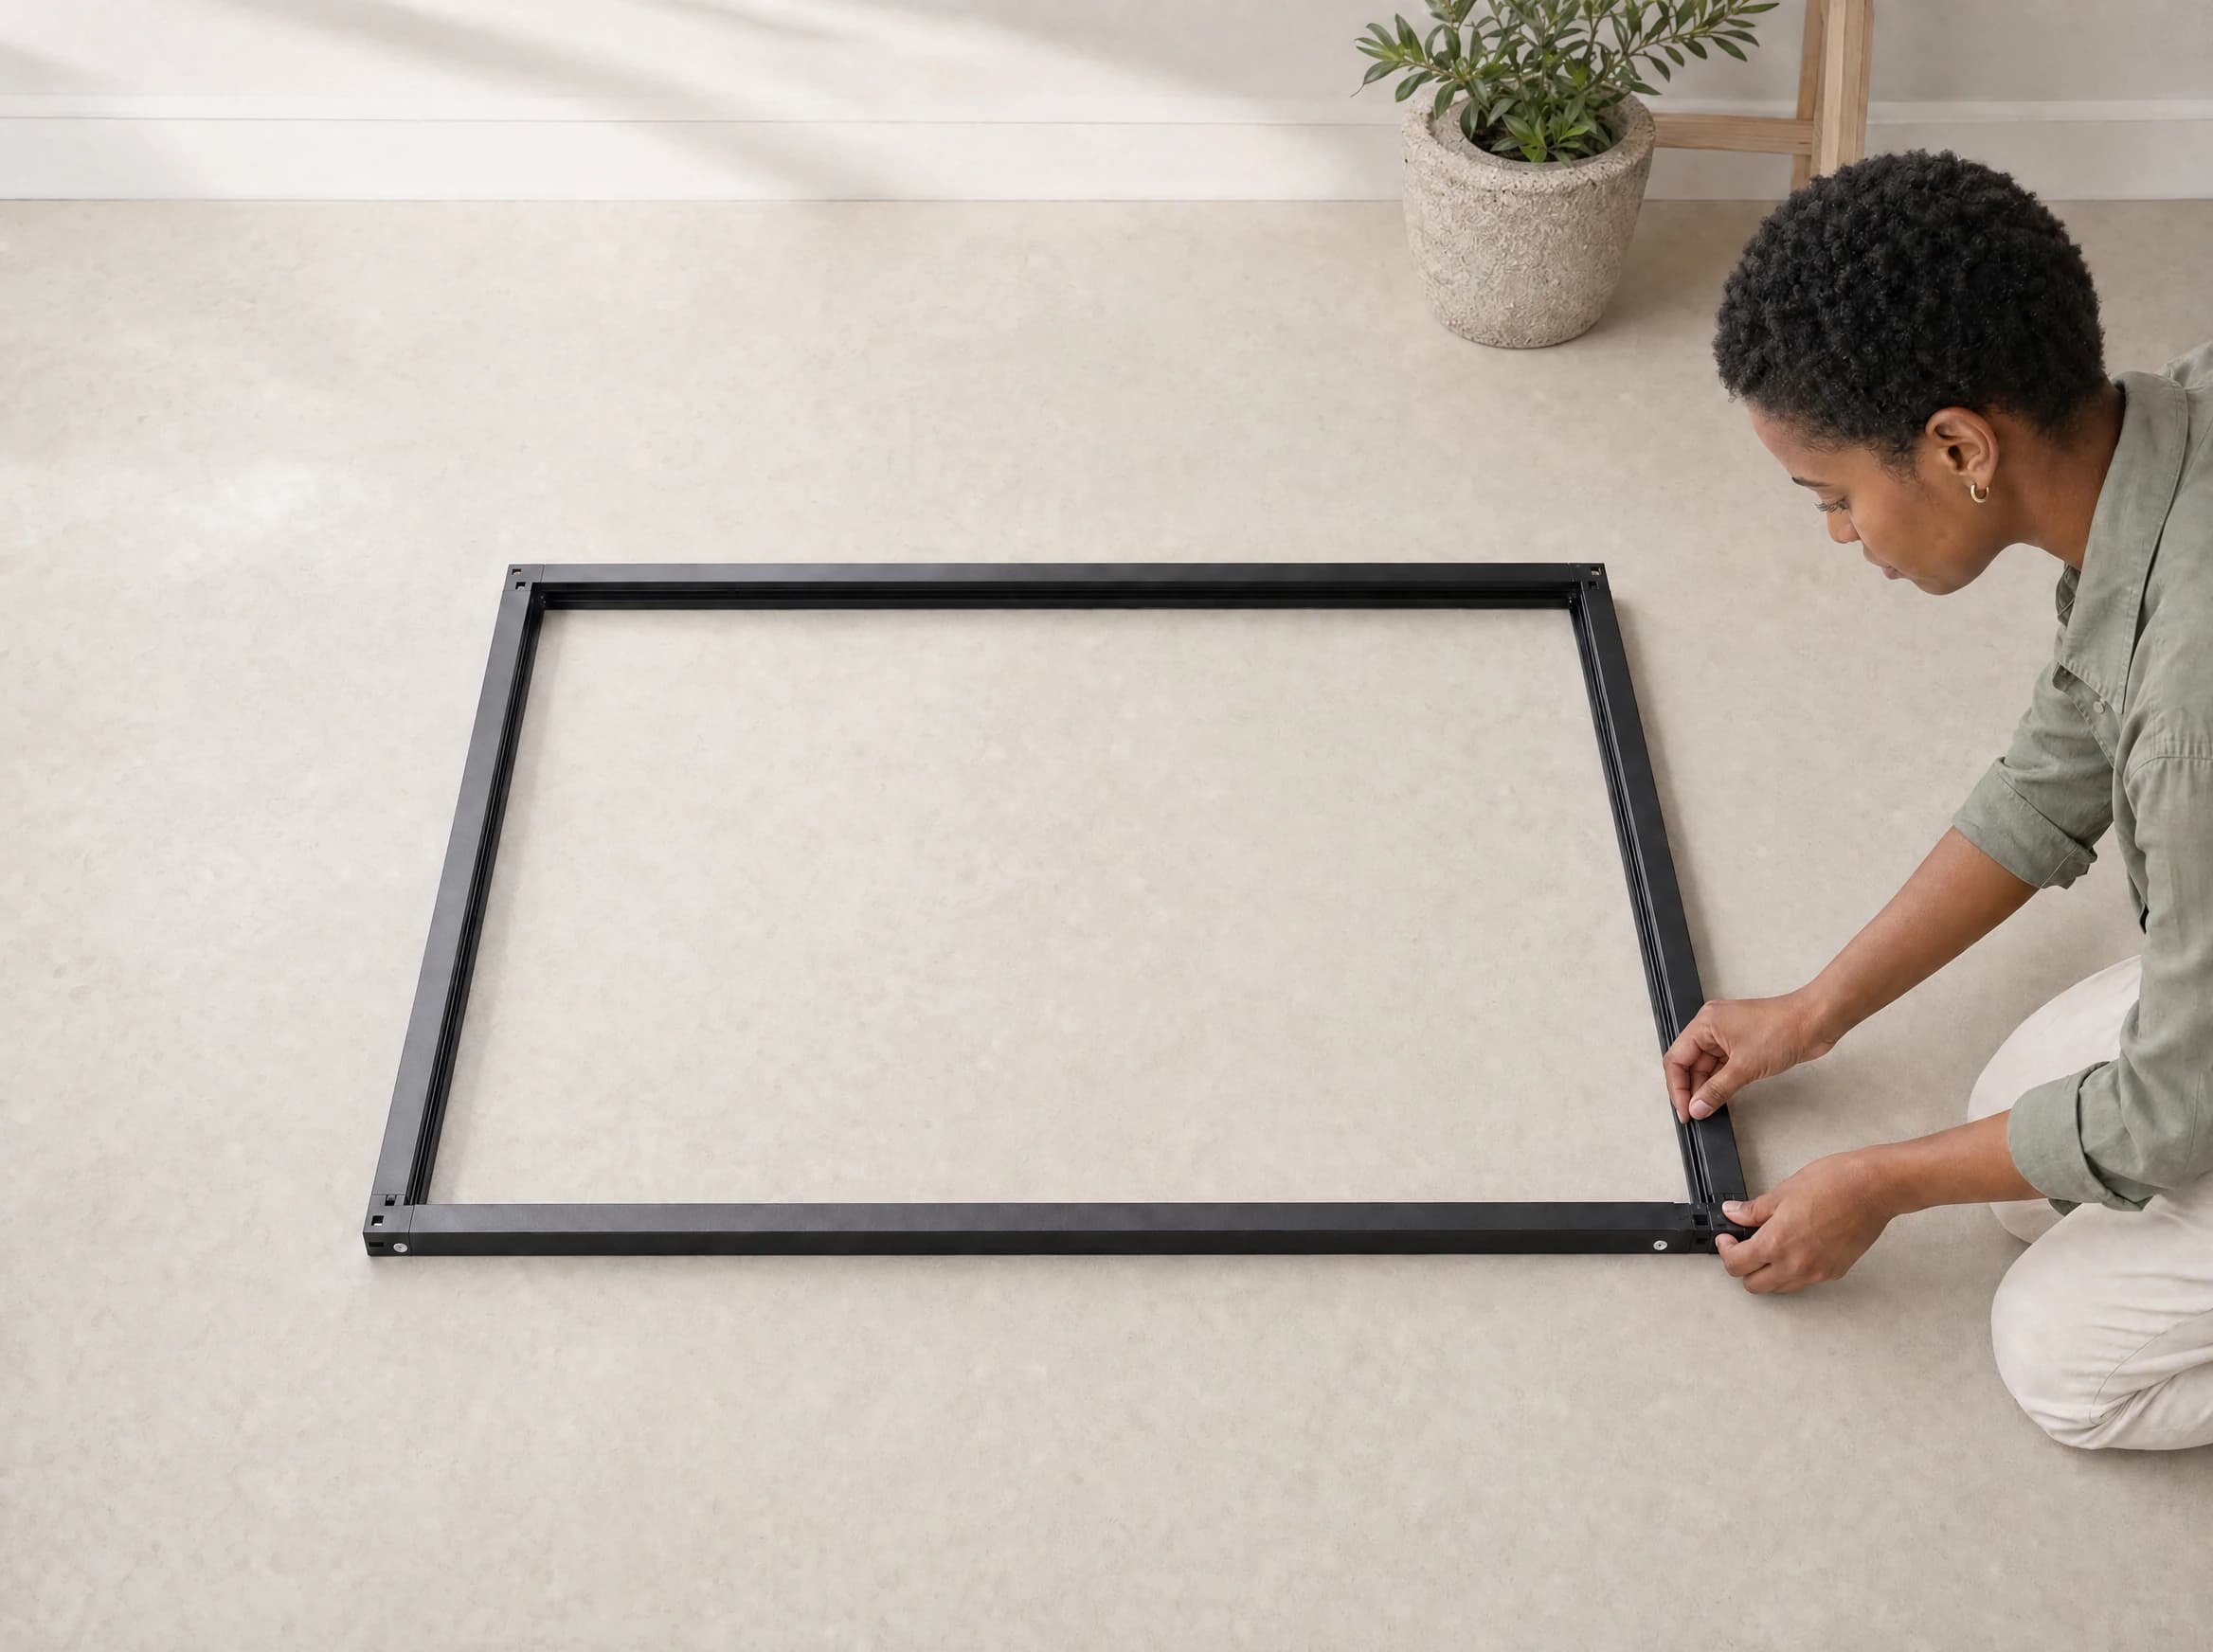
Place the two side profiles parallel on a clean, flat surface with their inner channels facing each other. Position the top and bottom profiles between them, keeping the blind cassette on the labelled side.
Keep the protective wrapping under the profiles to avoid marking the finish.
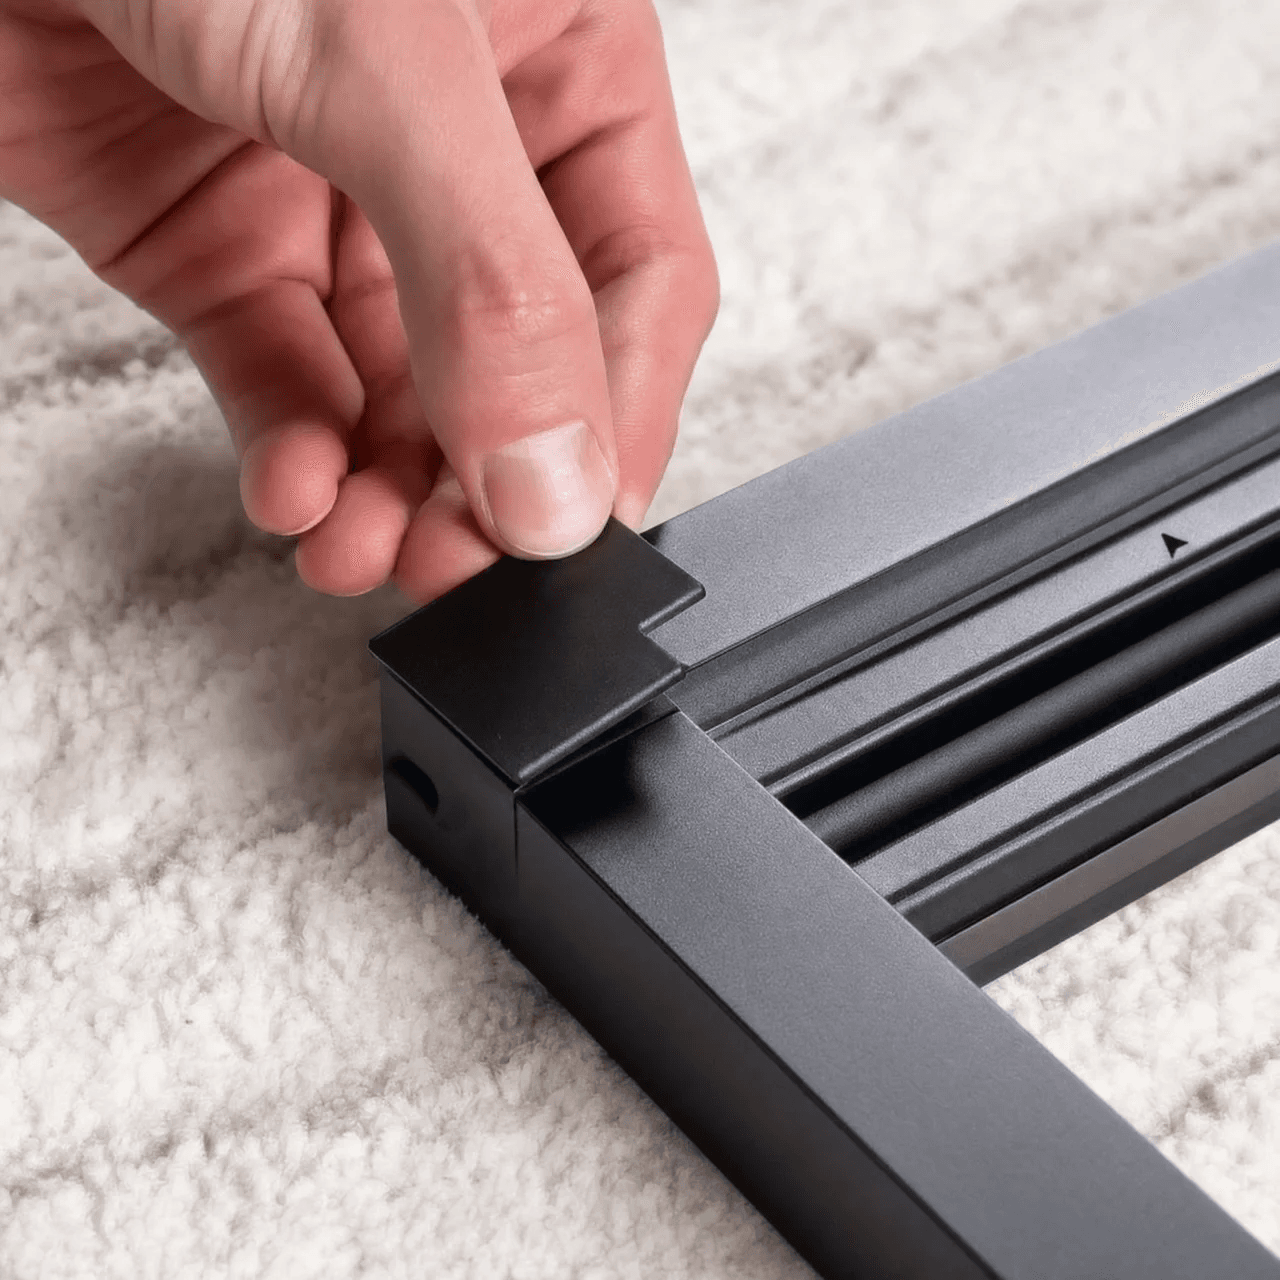
Match the labels at every adjoining end, then press each connector fully into place. Tighten the supplied screws evenly, check that the frame is square, and seat the corner caps flush.
Test the blind once now. If it closes correctly, no cord adjustment is needed.
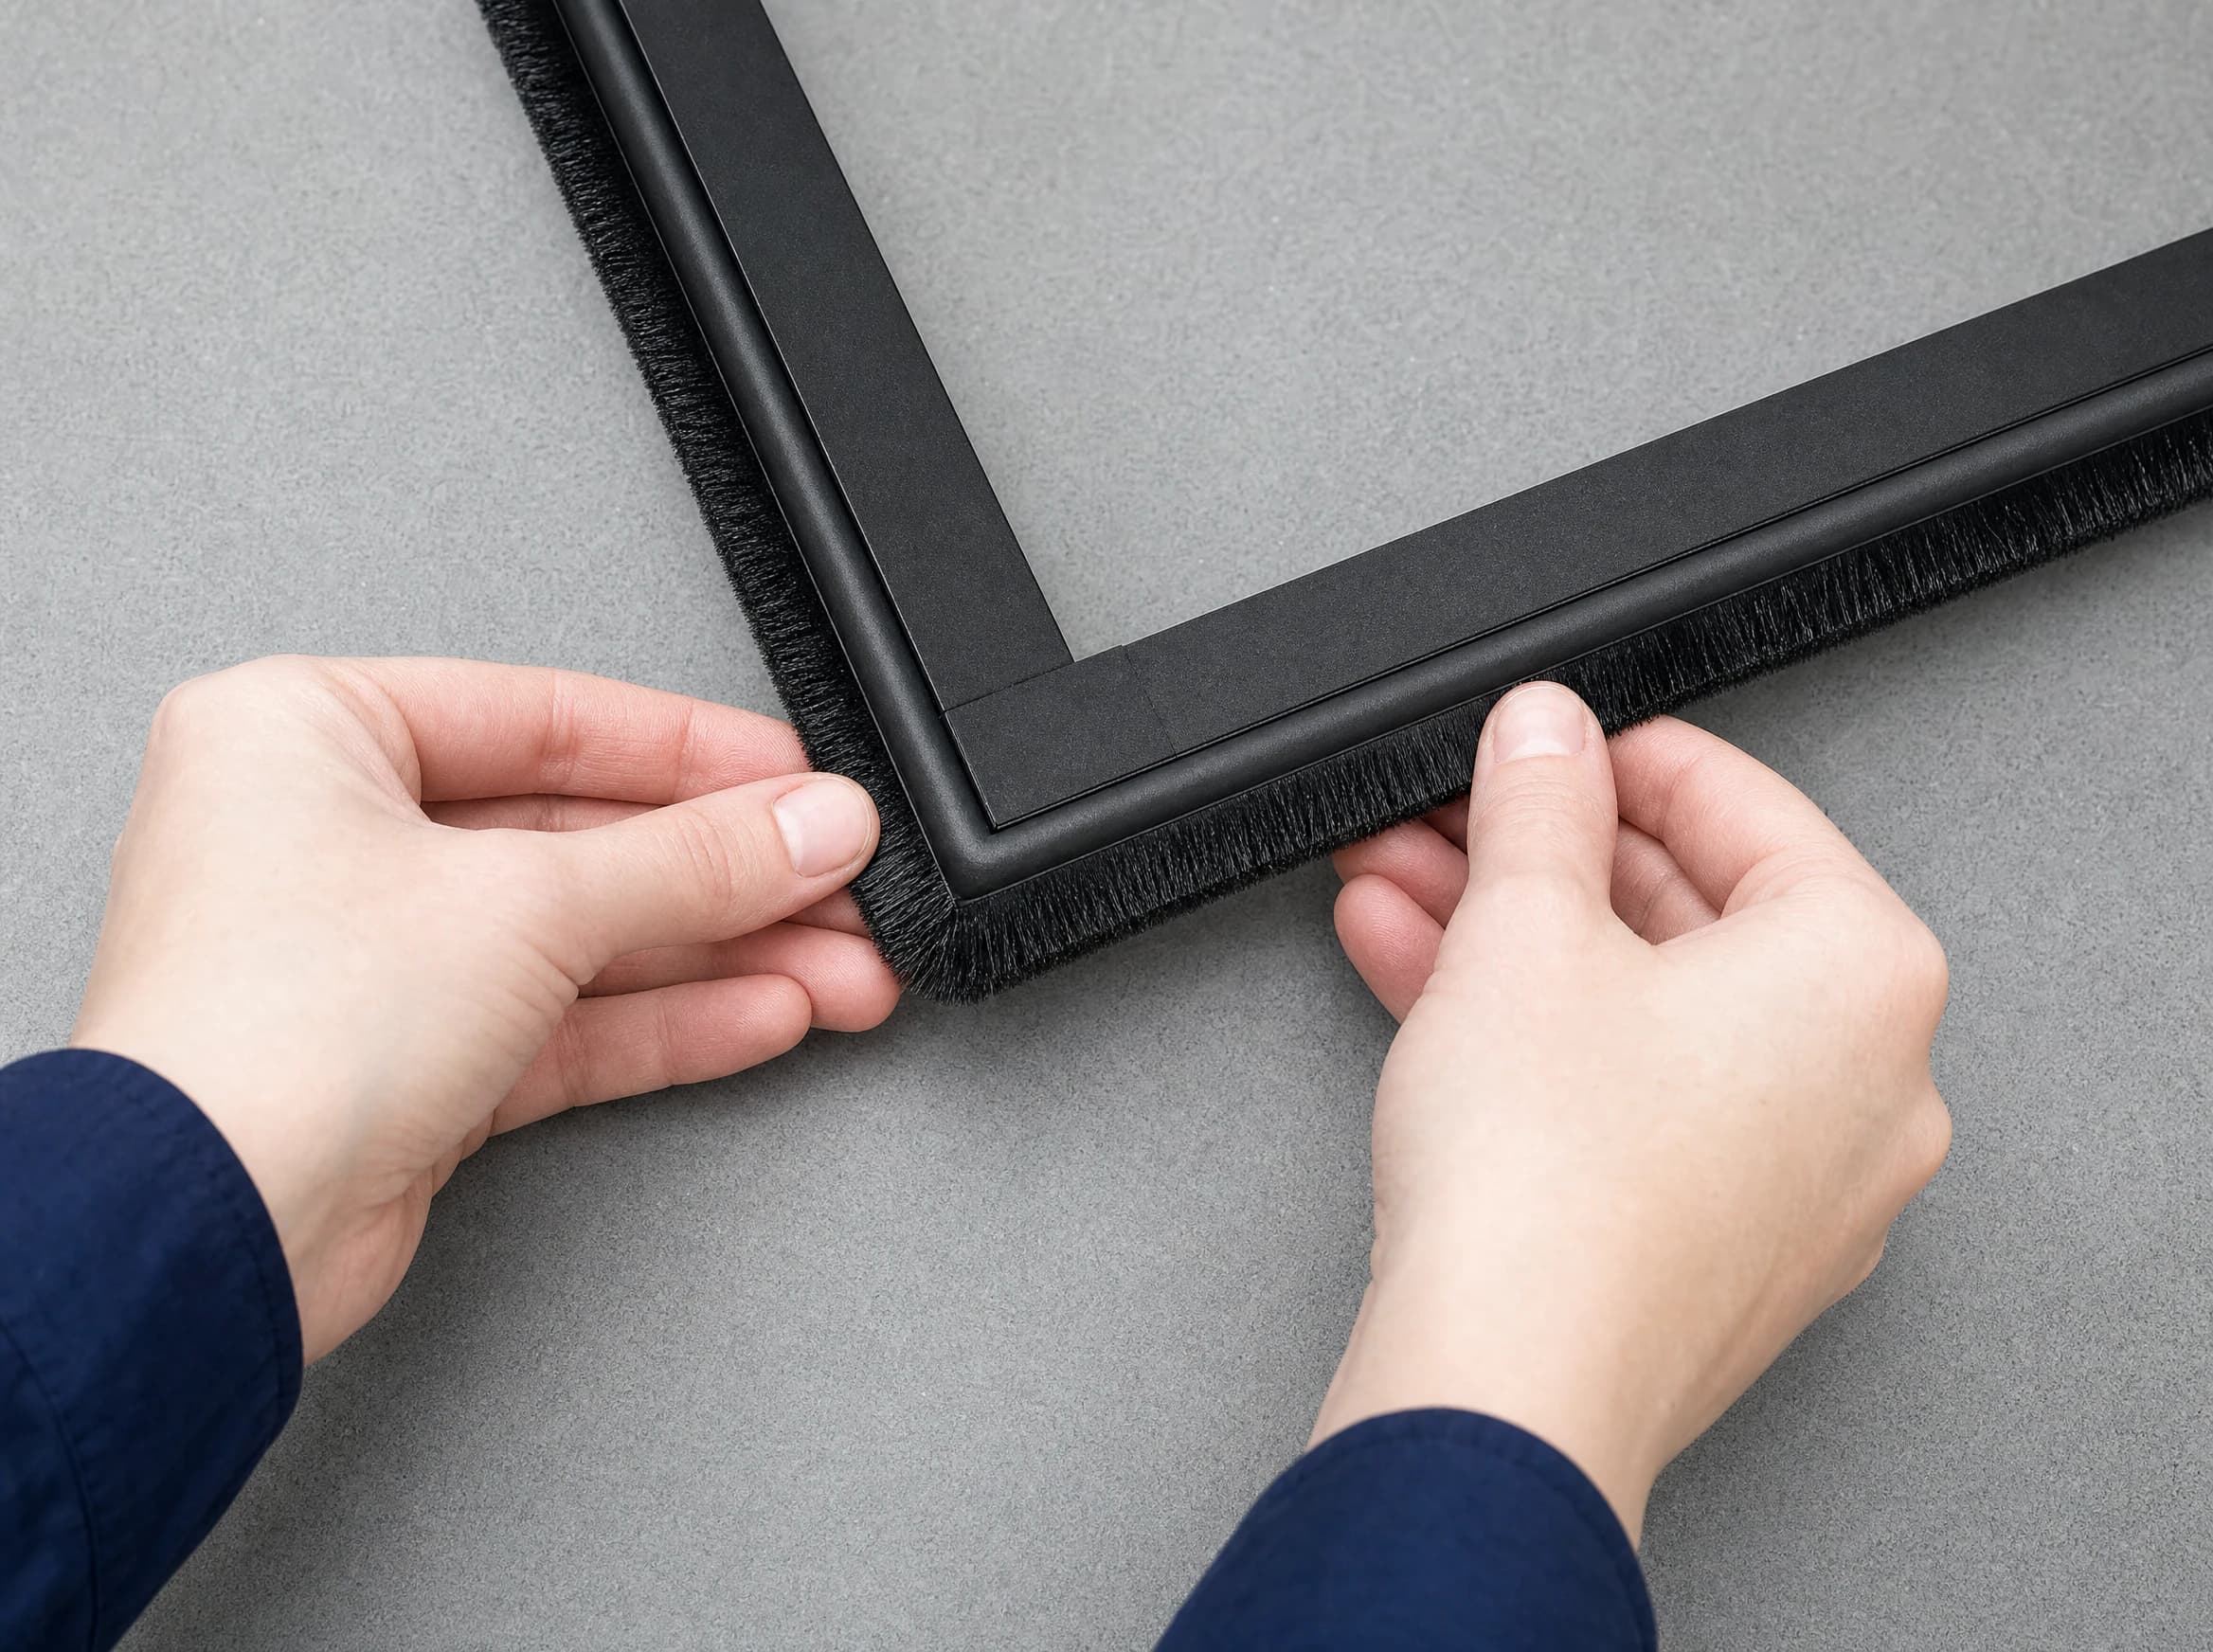
Peel back only a short length of liner at a time. Press the brush along the rear edge on all four sides, trimming each run at the corner so the next piece can begin with a neat 90-degree join.
Do not carry the strip loosely around a corner; a clean joint helps prevent small light gaps.
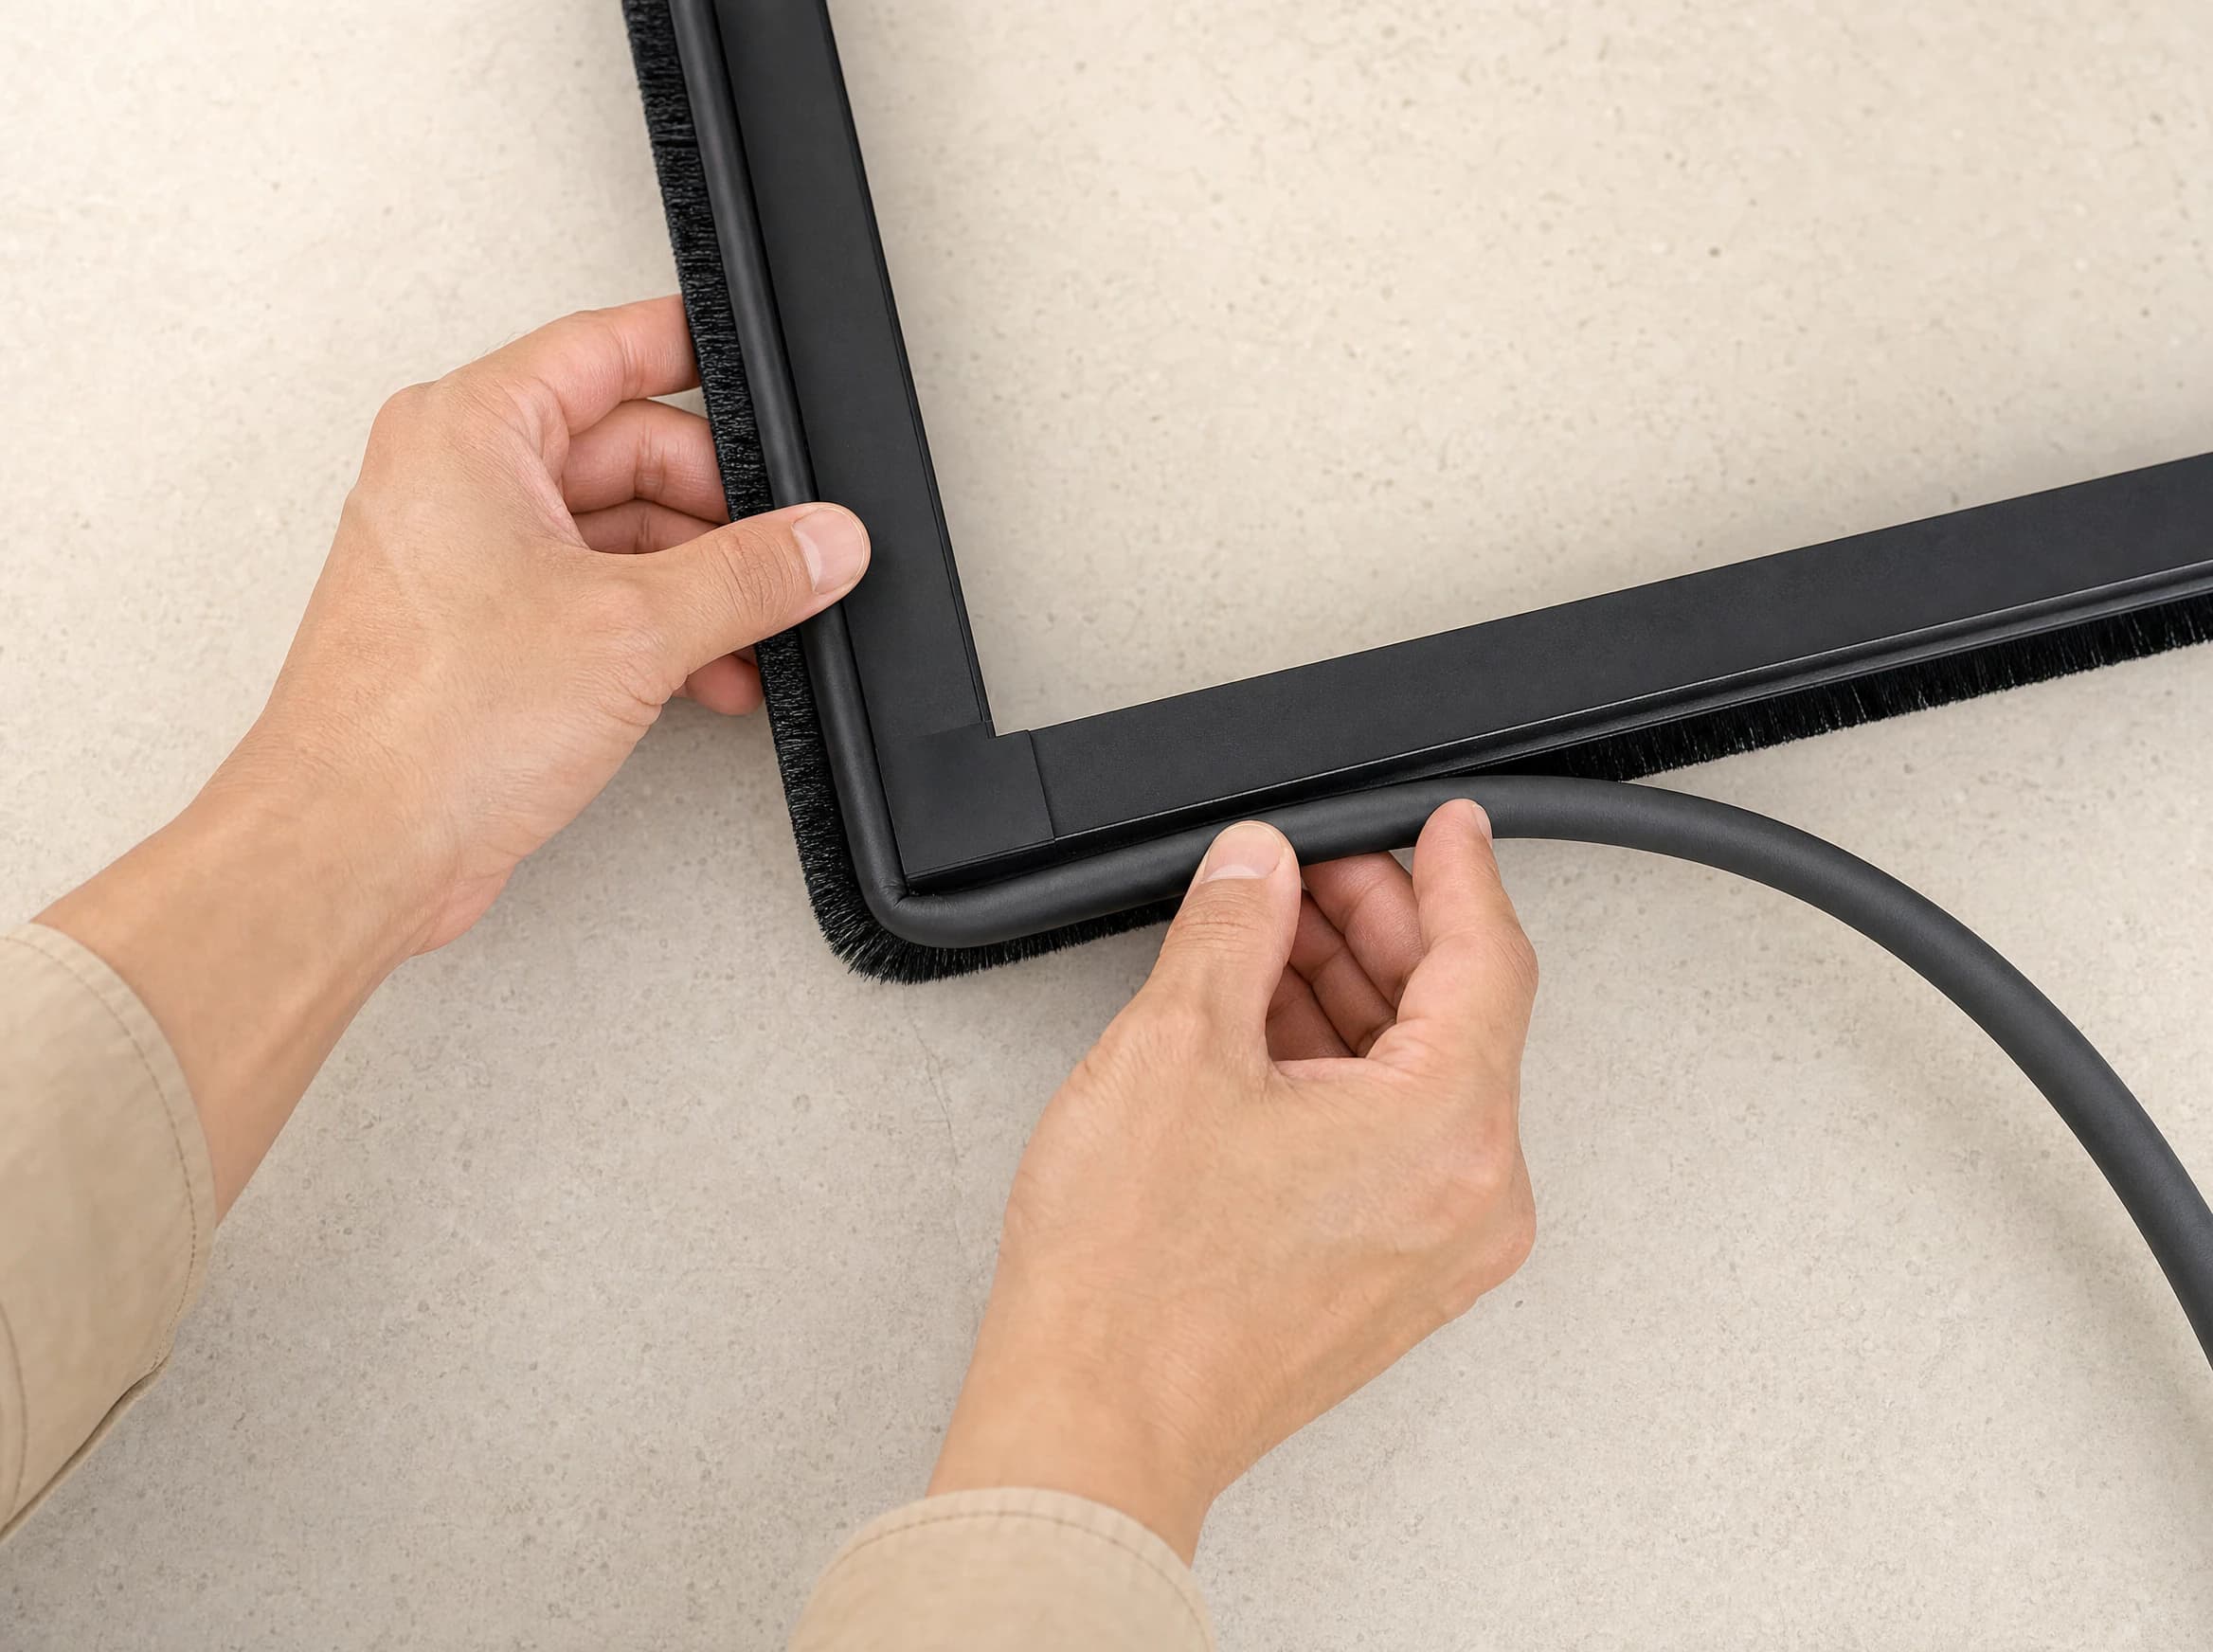
Start the sealing strip directly beside the brush and continue around each side while gradually removing the backing. Keep it relaxed, fully seated and free from gaps.
Shape the seal into each corner instead of stretching it across the turn.
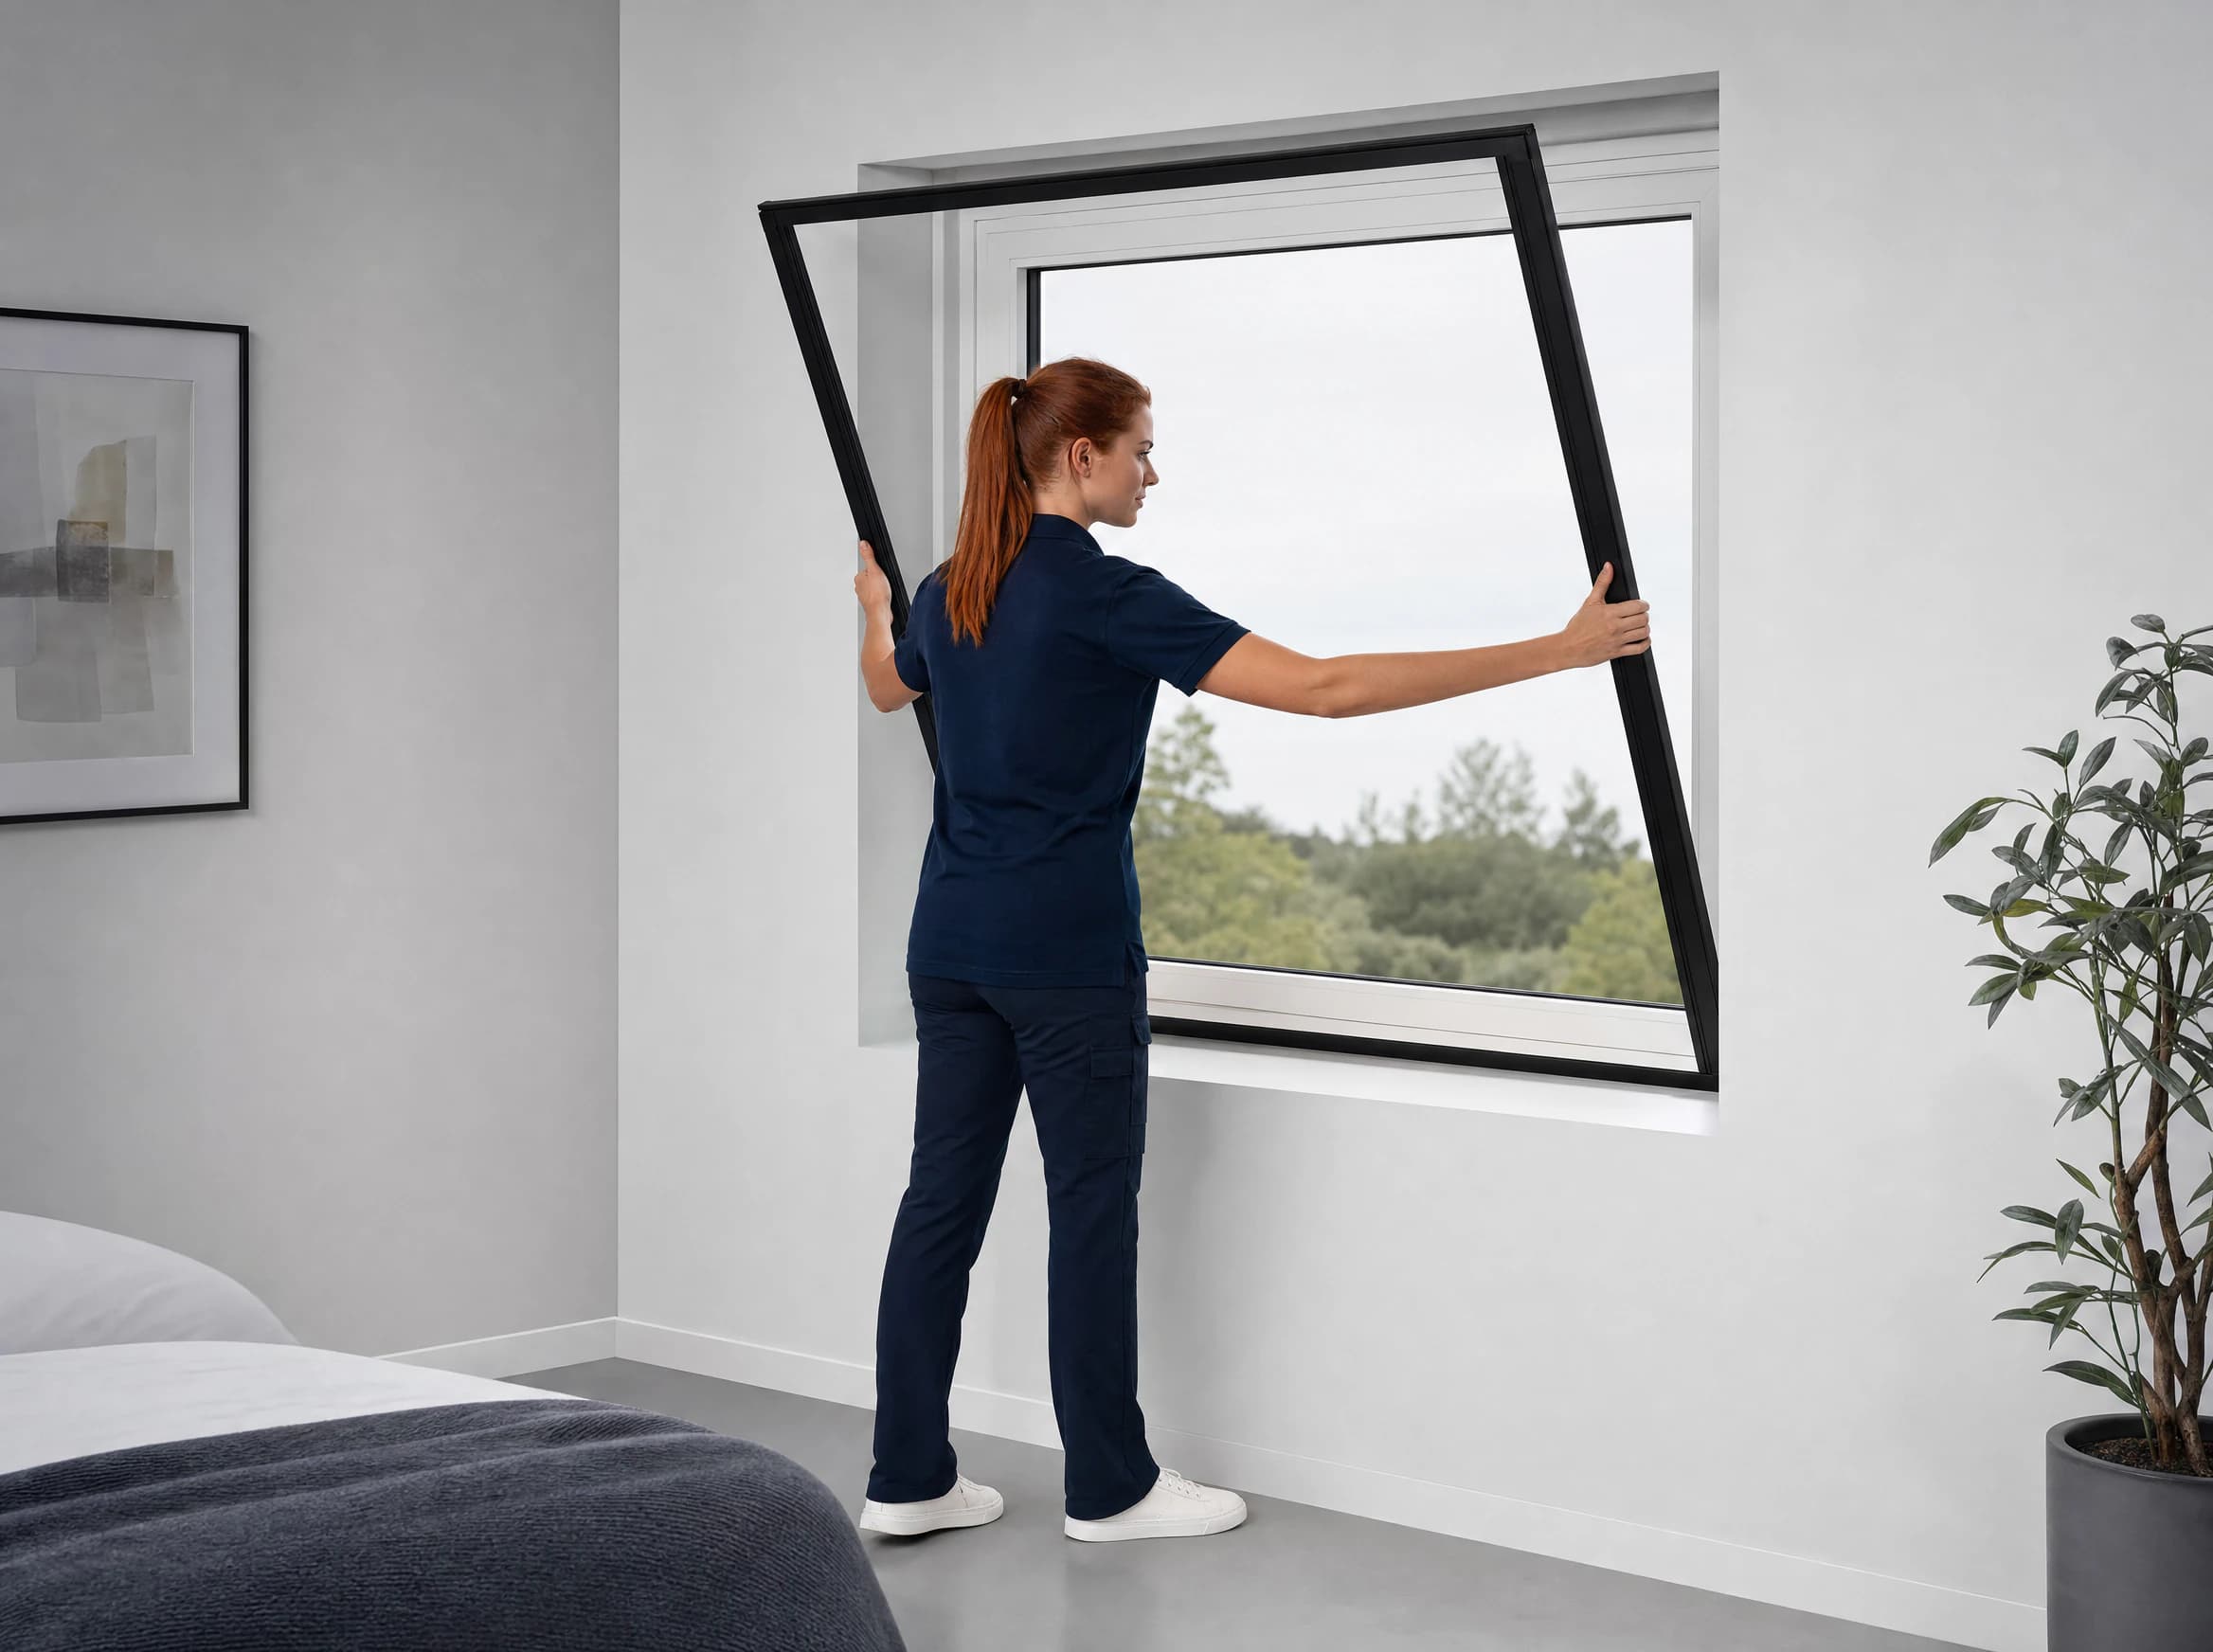
Hold the assembled frame at roughly a 70-degree angle. Guide the bottom into the recess first, then bring the top into position and press the frame evenly into place. Open and close the blind to confirm a smooth run and an even perimeter.
If the frame resists, remove it and check the opening and seals rather than forcing it.
Ready for the last check
Check that the frame is even, every corner is sealed, and the blind moves freely. Still preparing your window? Use the measurement guide before configuring your blind.